- vMix
- vMix with NDI
- vMix with Desktop Capture
- vMix with Image Output
- Wirecast
- Wirecast with NDI
- Wirecast with Remote Capture
- Wirecast with Local Capture
- Wirecast MAC OS X
- Open Broadcaster Software
- OBS with Local Capture
- Streamstar
- Streamstar with NDI
- Blackmagic
- ATEM Mini External Display
GET YOUR SPORT PACKAGE
Purchase separate controls or the whole Professional Edition
Purchase NowvMix with Desktop Capture
Last Updated:
In this tutorial, you will learn how to use Live Score with vMix by using
the Desktop Capturing to integrate Live Score.
This is a perfect solution if you run Live Score on the same computer with vMix.
Using the Desktop Capture is a basic way when running the Standard Edition of Live Score.
Using the Desktop Capture is a basic way when running the Standard Edition of Live Score.
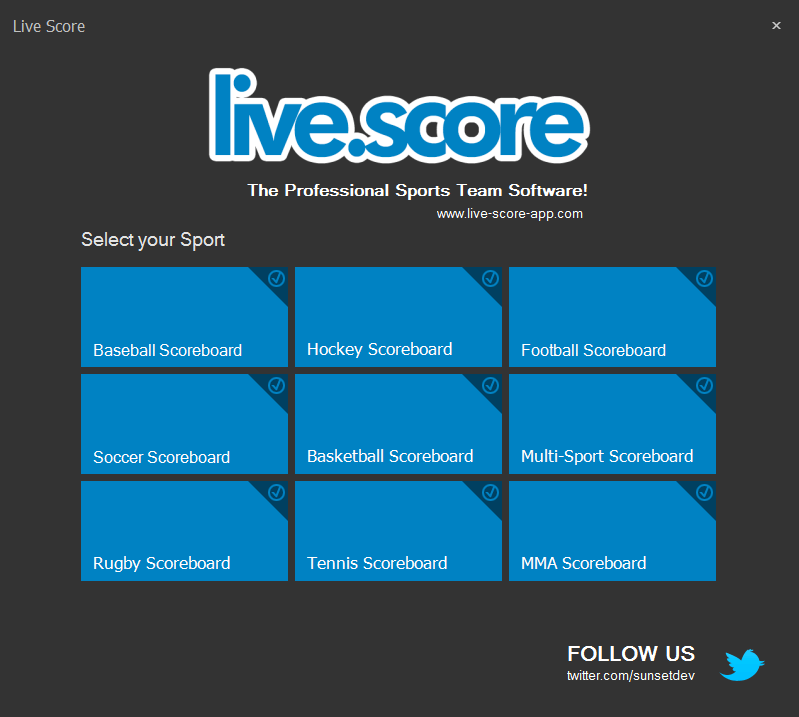
Start Live Score
We start by opening Live Score and selecting our sport.
Live Score will now start the main application with the sport you have selected.
Now it's time to add and prepare our scoreboard.
Live Score will now start the main application with the sport you have selected.
Now it's time to add and prepare our scoreboard.
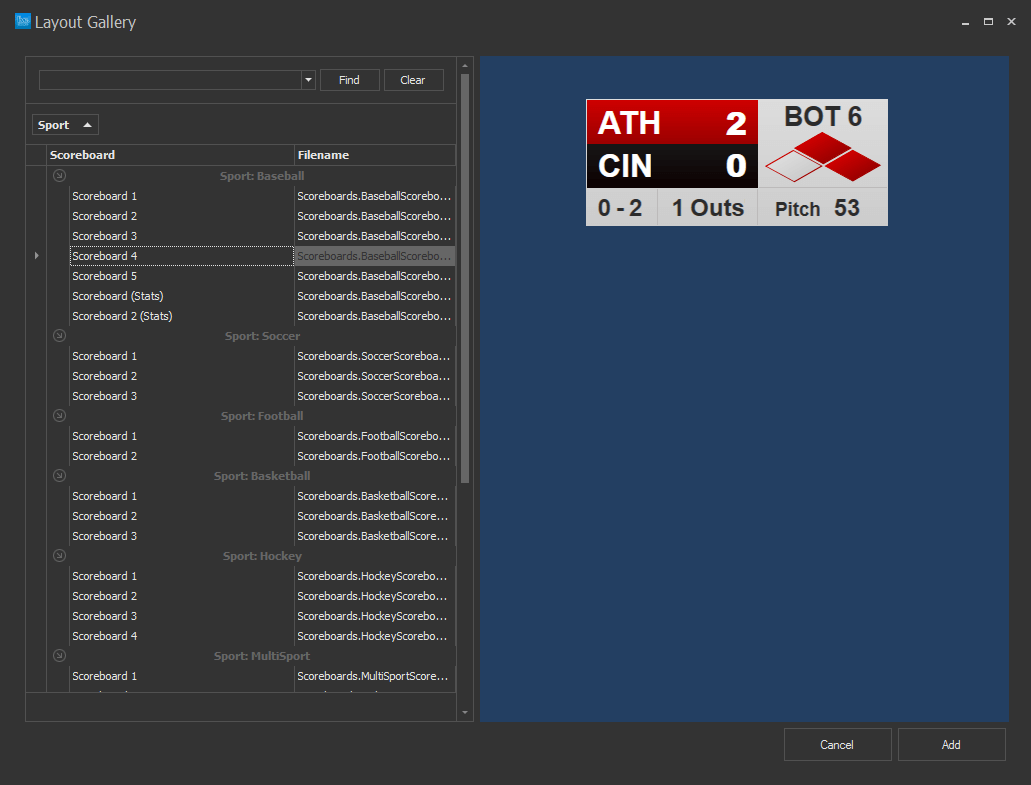
Add a Scoreboard
Let's add a new scoreboard by using the + button in the right scoreboard panel of the main
window.
This will open the layout gallery, where you can choose one or more of your available layouts.
After clicking on Add your scoreboard should appear in the center area of Live Score.
Now you can move it around by dragging the scoreboard with your mouse, zoom it or customize it.
After clicking on Add your scoreboard should appear in the center area of Live Score.
Now you can move it around by dragging the scoreboard with your mouse, zoom it or customize it.
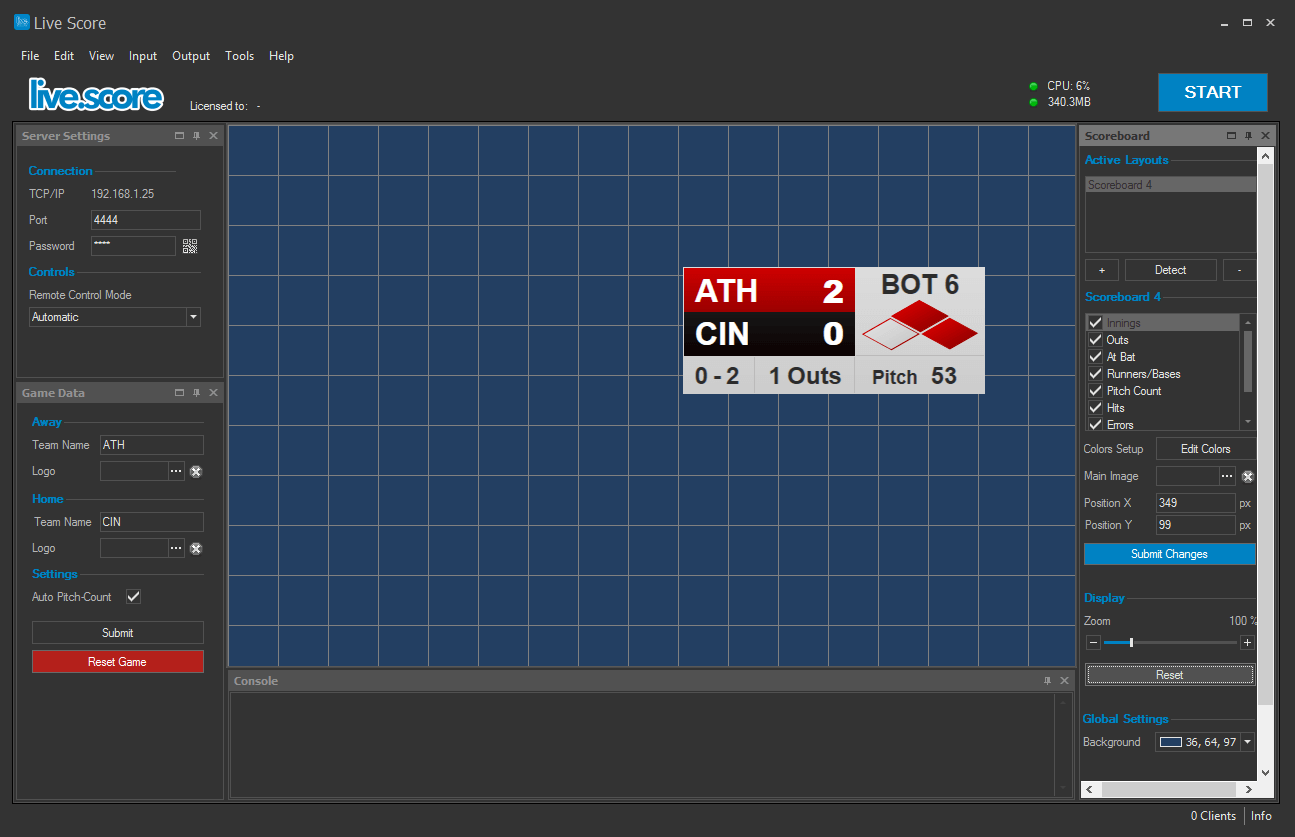
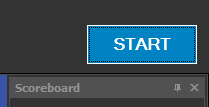
Start Live Score Engine
We're done in Live Score.
The last thing we need to do is to start the Live Score engine.
Do this by pressing the blue start button in the top right corner of the main window.
This will start all timers and controllers that are necessary to update your scoreboard data properly, and to enable incoming iOS connections from your remote apps.
Start vMix
It's now time to start your vMix application.
You can do this either on the same computer, or on another computer in your local network.
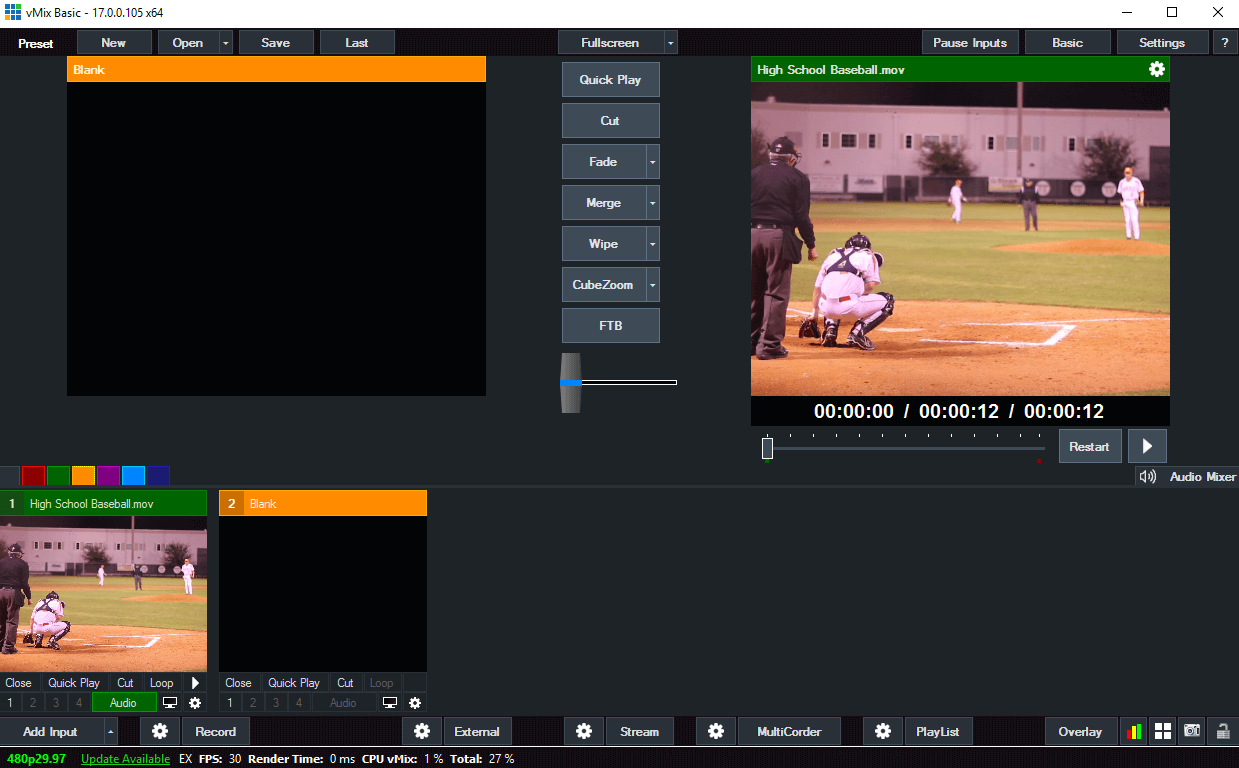
vMix should now display an empty project - no input source or anything else.
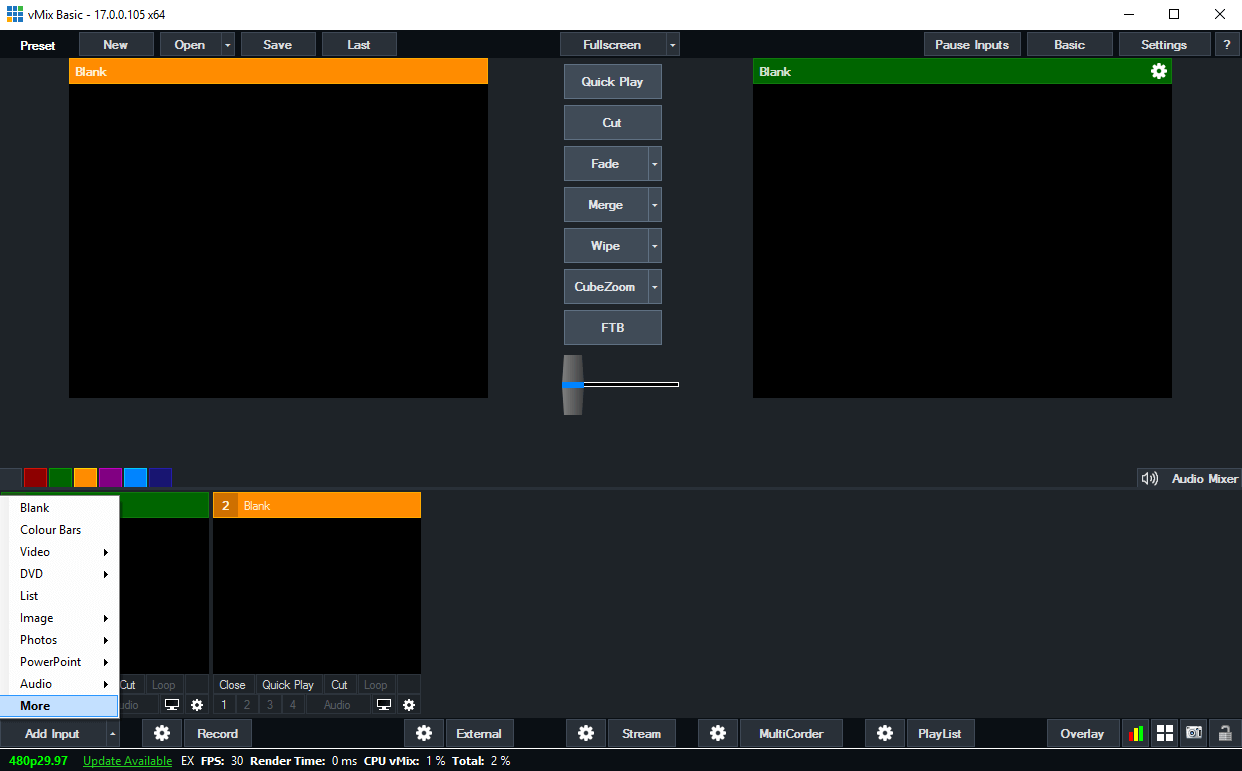
So let's add a video or camera source.
Click on Add Input and select either one of the appearing options or one of the various input types in More.
You can do this either on the same computer, or on another computer in your local network.
vMix should now display an empty project - no input source or anything else.
So let's add a video or camera source.
Click on Add Input and select either one of the appearing options or one of the various input types in More.
Add your Scoreboard input
It's finally time to add our Live Score scoreboard to vMix.
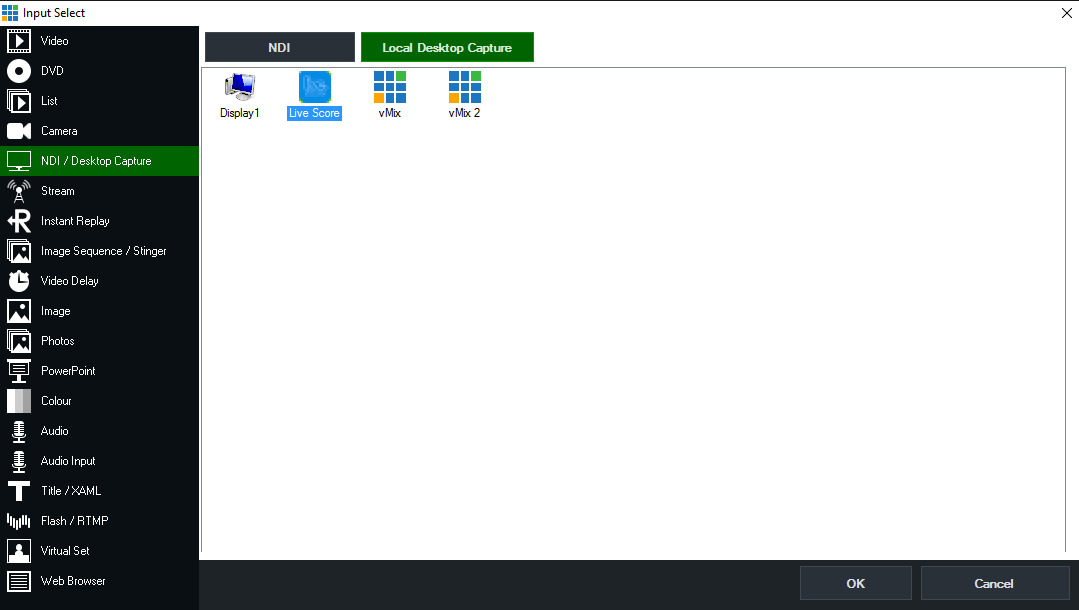
Go to input source and click on More.
In the dialog window that is now appearing, click on NDI / Desktop Capture.
Make sure to select Local Desktop Capture and it will show you a list of all running applications on your computer.
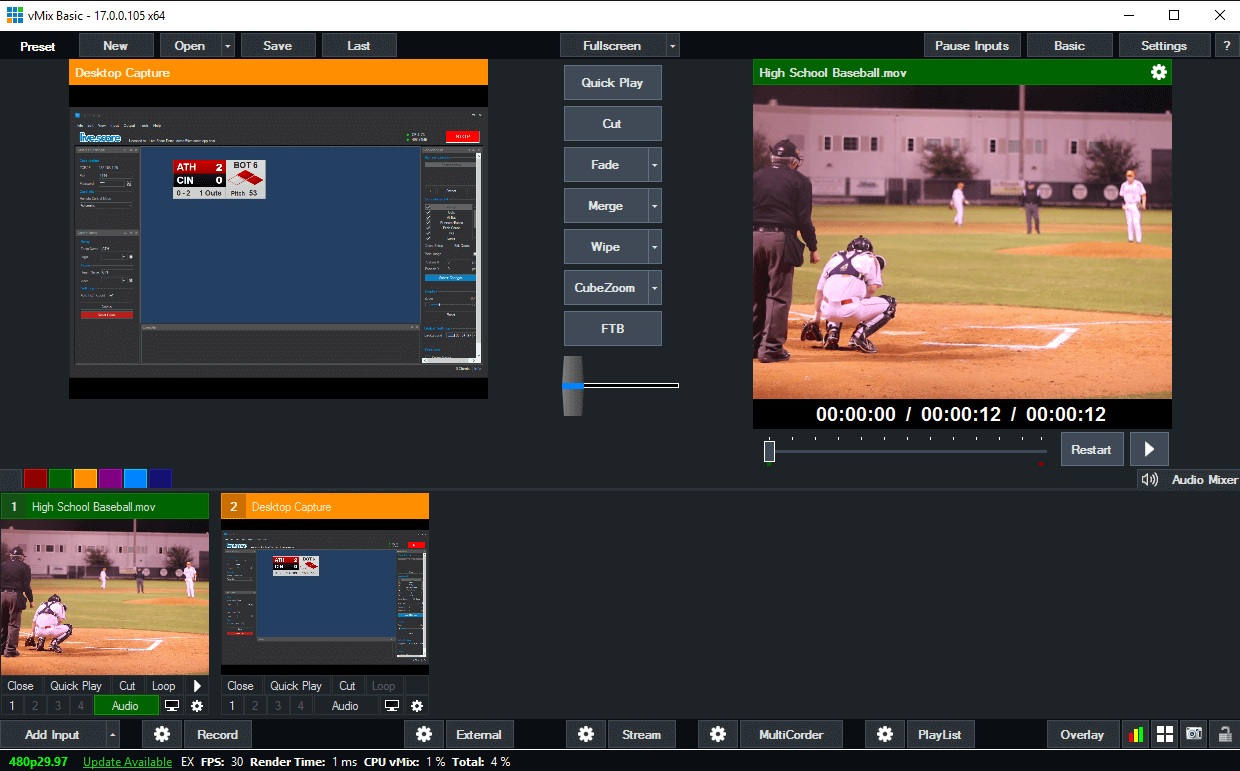
Select Live Score and click on Add.
The full Live Score window is now successfully available as an input source in vMix.
Go to input source and click on More.
In the dialog window that is now appearing, click on NDI / Desktop Capture.
Make sure to select Local Desktop Capture and it will show you a list of all running applications on your computer.
Select Live Score and click on Add.
The full Live Score window is now successfully available as an input source in vMix.
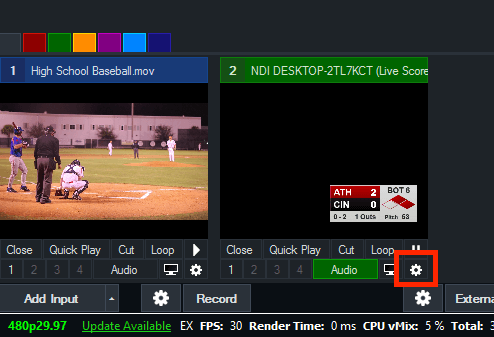
Create and Prepare the overlay
The next thing is to prepare the scoreboard input by removing all disturbing parts like the background
and the Live Score sidebar panels. We do this by cropping it and applying colour keying.
Click on the small gear icon to open the settings dialog for this input.
Remove all disturbing parts of the scoreboard by cropping it.
Go to Position and use the Crop sliders to trim the picture until you only see the scoreboard and a bit of the background color. You can additionally move it to the location where you want to show it.
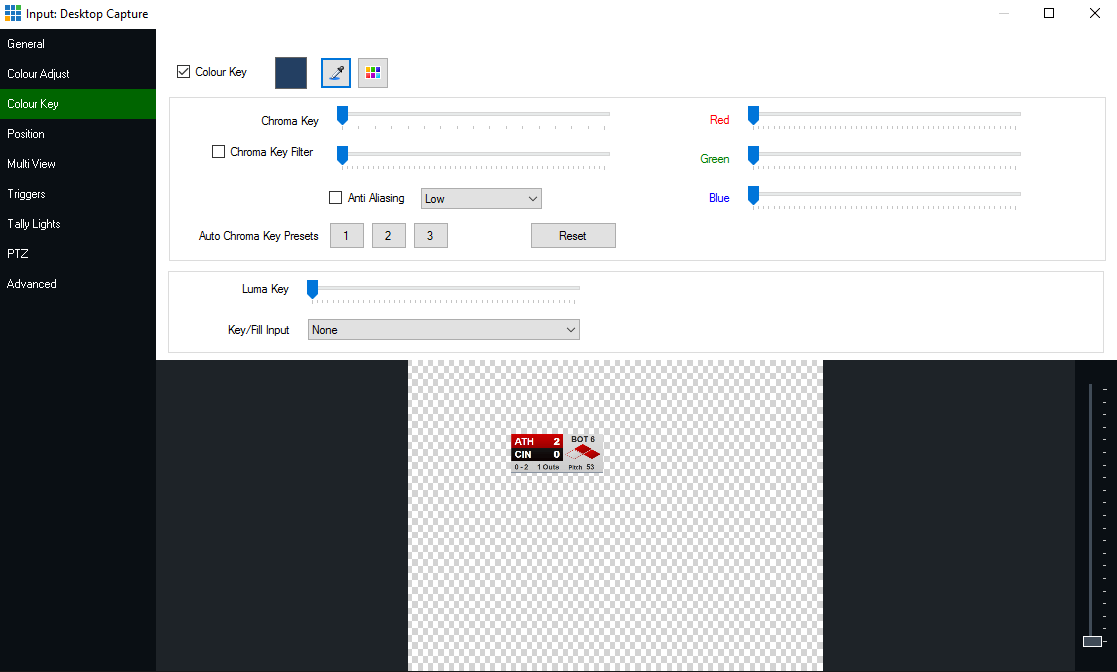
Now open the Colour Key settings.
Here we want to remove the rest of the background.
Enable Colour Key and click on the small pipette icon. In the new window that appears, just click on the background color. This will automatically remove all parts of the input that match your picked color.
For best results, use a background color in Live Score that is not used in your scoreboard.
Click on the small gear icon to open the settings dialog for this input.
Remove all disturbing parts of the scoreboard by cropping it.
Go to Position and use the Crop sliders to trim the picture until you only see the scoreboard and a bit of the background color. You can additionally move it to the location where you want to show it.
Now open the Colour Key settings.
Here we want to remove the rest of the background.
Enable Colour Key and click on the small pipette icon. In the new window that appears, just click on the background color. This will automatically remove all parts of the input that match your picked color.
For best results, use a background color in Live Score that is not used in your scoreboard.

Bringing it all together
Everything is set up correctly.
It's time to actually bring our new scoreboard layer on top of our camera source.
Because we have already trimmed the scoreboard input, you can simply click on it and it will be on top of your camera layer.
If you want to remove it, just click again on your scoreboard input.
It's time to actually bring our new scoreboard layer on top of our camera source.
Because we have already trimmed the scoreboard input, you can simply click on it and it will be on top of your camera layer.
If you want to remove it, just click again on your scoreboard input.

That's it, you're ready to go
You can now go on with finer adjustments, like positioning the scoreboard, scaling it,
and proceeding with your usual broadcasting workflow.
Live Score has not been made in cooperation with vMix.
This tutorial only covers the current version of vMix and does not ensure any functionality of vMix.